
Keeping your chenille sofa clean doesn’t require expensive products or professional services for every spill. At Hnleading, we manufacture various chenille sofa fabrics and understand exactly what cleaning methods work best. This guide provides five straightforward steps to maintain your chenille sofa’s appearance and extend its life.
Many sofa owners worry about damaging chenille’s soft pile during cleaning. These concerns are valid – incorrect cleaning can permanently flatten or discolor the fabric. However, following proper techniques makes cleaning chenille straightforward and safe. We’ll show you methods tested on countless fabric samples in our facility.
Before starting any cleaning process, understanding your specific chenille fabric type helps ensure success. Check your sofa’s care label for fiber content and any special instructions. With this information and our five-step process, you’ll keep your chenille sofa looking fresh for years.
Step 1: Gather Your Cleaning Supplies
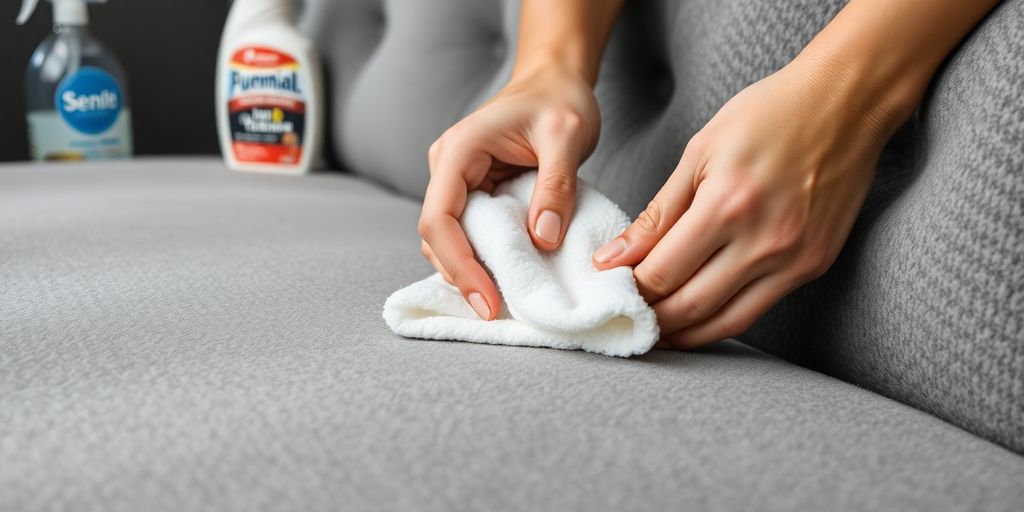
Proper preparation prevents fabric damage and ensures efficient cleaning. Start by assembling the right tools and products before touching your sofa. Using incorrect supplies ranks among the top causes of chenille damage during home cleaning.
Essential cleaning supplies include:
- Vacuum cleaner with upholstery attachment
- Soft-bristled brush (baby hairbrush works well)
- White microfiber cloths (avoid colored cloths that might transfer dye)
- Mild upholstery cleaner or dish soap solution
- Clean water in spray bottles
- Dry towels for blotting
- Fan or hair dryer for drying
Create your cleaning solution by mixing one tablespoon of mild dish soap with two cups of cool water. Avoid hot water, which can set stains and damage fibers. For tougher stains, purchase upholstery cleaner specifically labeled safe for chenille or polyester fabrics. Never use bleach, ammonia, or harsh chemicals that strip the fabric’s protective treatments.
Test any cleaning solution in an inconspicuous area first. Apply a small amount to a hidden spot like the sofa’s back corner. Wait 10 minutes, then blot dry. Check for color changes, texture differences, or other damage before proceeding with visible areas. This simple test prevents widespread damage from incompatible cleaners.
Step 2: Perform Regular Vacuum Maintenance
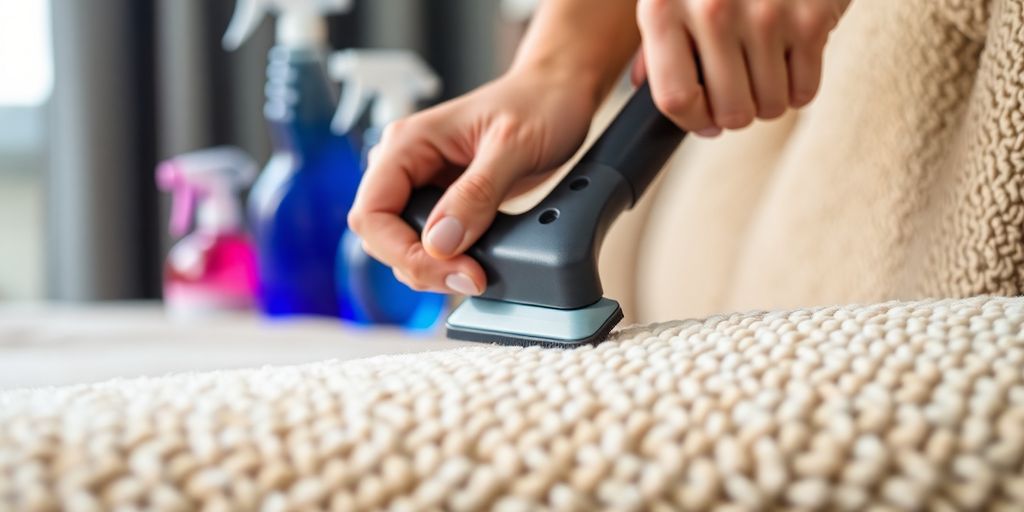
Regular vacuuming represents your first defense against chenille deterioration. Dust and debris accumulate in the pile, creating abrasion that wears fibers prematurely. Weekly vacuuming removes these particles before they cause damage.
| Vacuum Setting | Chenille Type | Frequency |
|---|---|---|
| Low suction | Delicate cotton chenille | Twice weekly |
| Medium suction | Polyester chenille | Weekly |
| Upholstery tool | All types | Always use |
Start vacuuming from the top and work downward. This method prevents redistributing dust onto already-cleaned areas. Use long, gentle strokes following the pile direction – usually from back to front on seat cushions. Don’t press hard or scrub back and forth, which can damage the pile structure.
Pay special attention to crevices where crumbs and pet hair accumulate. Use the vacuum’s crevice tool for these areas, but switch back to the upholstery attachment for fabric surfaces. Remove cushions if possible to vacuum underneath – surprising amounts of debris hide in these spaces. Flip cushions regularly to ensure even wear and complete cleaning.
Step 3: Address Spills and Stains Immediately
Speed matters when cleaning chenille spills. The faster you act, the better your chances of complete stain removal. Most liquids sit on chenille’s surface briefly before absorbing, giving you precious moments for intervention.
First, blot – never rub – excess liquid with white paper towels or clean cloths. Press straight down to absorb liquid without spreading it. Continue blotting with fresh towels until no more liquid transfers. For solid spills, gently scrape away material with a spoon’s edge before blotting any residue.
Apply cleaning solution sparingly to avoid oversaturating the fabric. Spray cleaner onto your cloth rather than directly onto the sofa. Dab the stained area working from outside edges toward the center. This technique prevents the stain from spreading outward. Alternate between applying cleaner and blotting with dry cloths until the stain lifts. Patience works better than aggressive scrubbing.
Common stain solutions:
- Food grease: Dish soap solution
- Wine/juice: Cold water, then mild cleaner
- Coffee: Equal parts water and white vinegar
- Ink: Rubbing alcohol on cotton swab
- Pet accidents: Enzyme cleaner designed for upholstery
Step 4: Deep Clean Your Chenille Sofa
Even with regular maintenance, chenille sofas benefit from periodic deep cleaning. Schedule this every 6-12 months, or more frequently for heavily used furniture. Deep cleaning refreshes the fabric’s appearance and removes embedded soils that vacuuming misses.
For machine-washable cushion covers, follow manufacturer instructions carefully. Use cold water and gentle cycle settings. Add mild detergent without fabric softener, which can damage chenille’s texture. Air dry covers until slightly damp, then refit them to cushions for final shaping. The slight moisture helps eliminate wrinkles.
Fixed upholstery requires different deep cleaning approaches. Steam cleaning works well for most chenille types, but verify compatibility first. Rent or purchase a quality upholstery steam cleaner with adjustable settings. Work in sections, avoiding oversaturation. Extract as much moisture as possible during cleaning. Alternative methods include foam cleaning, where specialized foam lifts dirt without excessive moisture.
“Professional upholstery cleaners report that properly maintained chenille sofas require deep cleaning 60% less frequently than neglected ones.”
Step 5: Dry and Restore the Pile Properly
Proper drying prevents mildew, water marks, and pile damage. Never leave chenille damp longer than necessary. Open windows and use fans to circulate air around the sofa. Position fans to blow across, not directly at, the fabric to avoid creating permanent pile patterns.
Restoration starts during the drying process. Use your soft-bristled brush to gently lift the pile while slightly damp. Brush in one direction consistently – typically with the natural pile direction. This action prevents matting and restores chenille’s characteristic soft texture. Work systematically across all cleaned areas.
Final touches ensure professional-looking results:
- Check for missed spots once fully dry
- Re-vacuum lightly to remove any cleaning residue
- Apply fabric protector if desired (test first)
- Plump and rotate cushions for even appearance
Monitor the sofa for 24-48 hours after cleaning. Sometimes stains reappear as fabric dries completely – a phenomenon called “wicking.” Address any returning stains promptly with targeted spot cleaning. Most stains that survive proper cleaning prove permanent, requiring professional intervention or acceptance.
Maintain Your Clean Chenille Sofa
Following these five steps keeps your chenille sofa attractive and hygienic without risking fabric damage. The key lies in consistent maintenance rather than aggressive cleaning. Regular light care prevents the need for harsh methods that might harm the fabric.
Remember that different chenille upholstery fabrics may require slight technique modifications. Always defer to manufacturer care instructions when available. When in doubt, test first and proceed cautiously. Your patience and proper technique will reward you with a beautiful, long-lasting chenille sofa.
Professional cleaning remains valuable for annual deep cleaning or stubborn stain removal. However, these five steps handle most cleaning needs effectively. By mastering these techniques, you’ll protect your furniture investment while enjoying chenille’s comfort and beauty for years to come.